How to Open Sony TV Remote: Battery Cover & Replacement
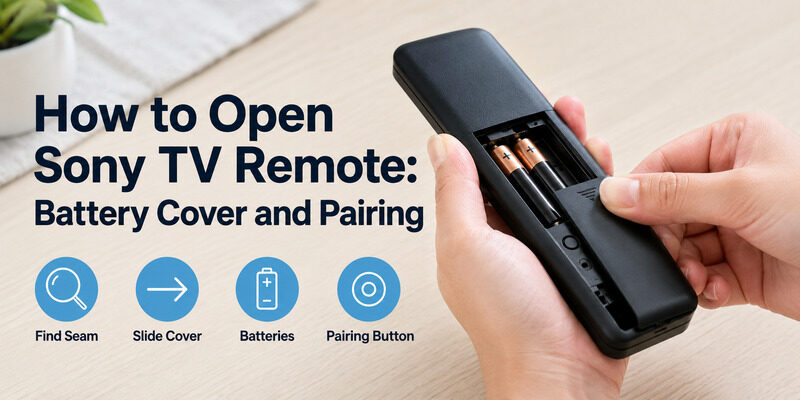
Quick Answer: To open a Sony TV remote, turn it over and check the battery cover for an arrow, sliding panel, or release clip. On many Sony remotes, you can slide the back cover in the direction of the arrow and lift it off. Other models use a small latch or release button. Open the cover gently, replace the batteries if needed, and close it securely.
If your Sony TV remote battery cover is stuck, do not force it open with a knife or screwdriver. Sony remotes use different battery compartment designs, so identifying the correct opening mechanism is the safest first step.
This guide explains how to open Sony TV remote covers, change batteries, handle a stuck back panel, and troubleshoot a remote that stops working.
How to Open Sony TV Remote Battery Cover
The correct way to open a Sony TV remote depends on its design.
Sony identifies four common battery cover mechanisms:
- Slide and peel
- Slider
- Clip and tilt
- Arrow release
Before opening the remote, turn it over and inspect the back panel.
Sony Remote Battery Cover Types
| Cover Type | How to Identify It | How to Open |
|---|---|---|
| Slide and peel | Triangle or directional marking on the back | Slide toward the marking, then lift |
| Slider | Separate sliding section or full sliding back panel | Slide in the indicated direction |
| Clip and tilt | Small latch near the battery compartment | Press the clip and lift the cover |
| Arrow release | Arrow-shaped release button | Press the button to release the back panel |
Important: The direction and opening method vary by remote model. Do not assume that every Sony BRAVIA remote opens by sliding downward.
Method 1: Open a Slide-and-Peel Sony Remote
This design is found on selected Sony TV remote controls.
Follow these steps:
- Place the remote face down on a clean, dry surface.
- Find the triangle or directional symbol on the back cover.
- Position your thumbs against the cover for a secure grip.
- Push the cover in the direction indicated by the triangle.
- Continue sliding until the cover loosens.
- Gently lift the released cover away from the remote.
Some new remotes have tight-fitting covers that require firm, controlled thumb pressure.
Avoid bending the cover or twisting it sideways.
Method 2: Open a Sony Remote With a Sliding Cover
Some Sony remotes have a smaller battery door that slides independently of the rest of the back panel.
To open it:
- Turn the remote over.
- Locate the battery compartment.
- Look for an arrow or textured grip area.
- Place your thumb on the cover.
- Slide it in the indicated direction.
- Remove the cover once it releases.
If the cover does not move, inspect the edges for a latch before applying more pressure.
Method 3: Open a Sony Remote With a Clip
A clip-and-tilt cover usually has a clearly defined battery door and a small release tab.
Follow these steps:
- Hold the remote with the back facing upward.
- Locate the clip near the battery compartment.
- Press the clip gently with your thumb.
- Lift the released edge of the cover.
- Remove the cover without bending its tabs.
When closing the compartment, align the tabs first and press the cover until it locks into place.
Method 4: Open a Sony Remote With an Arrow Release
Some Sony remotes use a release button marked with an arrow.
To open this type:
- Turn the remote over.
- Find the arrow-shaped release button.
- Press the button as indicated.
- Allow the back cover to loosen.
- Lift the cover away carefully.
Do not attempt to slide this type of cover if the mechanism is designed to release through a button.
How to Identify Your Sony Remote Model
If you are unsure which opening method applies, check the remote’s model number.
Sony remote model numbers often begin with RM-, such as RMF- or RMT- series identifiers.
Depending on the remote, the model information may appear:
- On the back of the remote
- Inside the battery compartment
- In the television’s operating manual
- In Sony’s support documentation
The remote model number is more useful than the TV model alone when identifying the correct battery cover mechanism.
For information about Sony remote buttons and functions, see our Sony remote control manual guide.
How to Change Batteries in a Sony TV Remote
Once you have opened the battery compartment, replacing the batteries is usually straightforward.
Step-by-Step Sony TV Remote Battery Replacement
Step 1: Remove the battery cover
Use the opening method appropriate for your remote.
Step 2: Take out the old batteries
Remove the batteries carefully without bending the metal contacts.
Step 3: Check the battery size
Look for the battery type printed inside the compartment or listed in the remote manual.
Sony remotes may use AA or AAA batteries depending on the model.
Step 4: Insert a fresh matching set
Install the new batteries according to the positive (+) and negative (−) markings.
Sony recommends following the compartment markings and inserting the negative end first where appropriate.
Step 5: Close the cover
Align the cover with the remote body and slide or press it back into place.
Step 6: Test the remote
Point the remote toward the TV and press Power, Volume, or Home.
If the remote responds normally, the battery replacement was successful.
What Batteries Does a Sony TV Remote Use?
Sony TV remotes do not all use the same battery size.
| Battery Type | Marking | Notes |
|---|---|---|
| AA | AA, R6, LR6 | Used by selected Sony remotes |
| AAA | AAA, R03, LR03 | Used by selected Sony remotes |
| Built-in rechargeable battery | Model-specific | Not intended for user battery replacement |
Check the battery compartment or operating manual before buying batteries.
For remote controls with a microphone or touchpad, Sony recommends suitable long-life alkaline batteries to support reliable wireless operation.
Do not mix old and new batteries or combine different battery types.
Do You Need to Pair the Remote After Changing Batteries?
Usually, a standard infrared Sony remote does not need pairing after a battery replacement.
Some Sony Bluetooth voice remotes may require reconnection if their wireless registration has been lost.
If basic buttons work but voice features do not, check the TV’s remote pairing settings.
Do not assume that opening the battery compartment automatically resets or unpairs the remote.
Troubleshooting When You Can’t Open the Remote
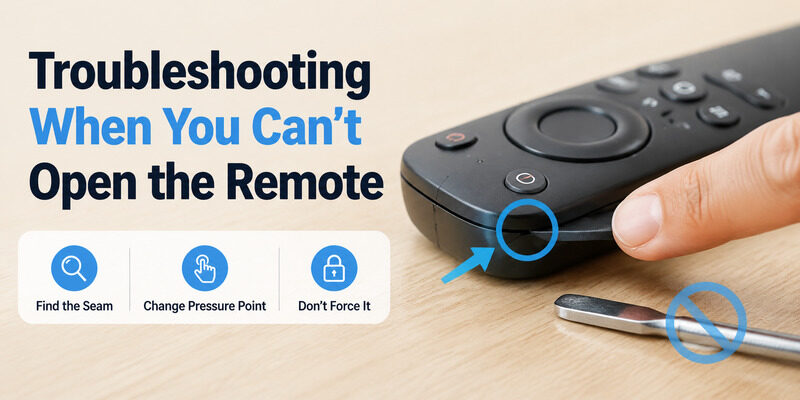
Occasionally a cover resists more than it should. A couple of tips help you open a Sony TV remote without damaging it.
Most difficulties with how to open Sony TV remote come down to pushing on the wrong spot rather than a genuinely stuck cover.
Find the Right Seam
Look closely for the cover’s seam or notch before applying force. Pushing on the wrong part of the remote won’t open it and risks cracking the casing. Once you’ve found the correct seam, only light pressure is needed to open a Sony TV remote.
Locating the seam first is the real key to how to open Sony TV remote without cracking the casing.
Don’t Force It
If the cover won’t budge, stop and reassess rather than prying harder. A stuck cover usually just needs pressure in a slightly different spot. Forcing it is the main way people damage a remote while trying to open it.
If Opening or Pairing Doesn’t Fix the Remote
Sometimes you open the remote, swap batteries, and re-pair, but it still won’t work. In that case the remote may have a hardware fault that opening it can’t fix.
For an infrared remote, point it at a phone camera and press a button — a working remote shows a faint light on the camera screen. No light means the remote has failed and needs replacing. At that point, a phone app is the fastest way to regain control without waiting for a new remote.
At that stage, knowing how to open Sony TV remote covers has done its job — the compartment isn’t the problem, the hardware is.
Skip the Battery Cover Entirely With a Remote TV App
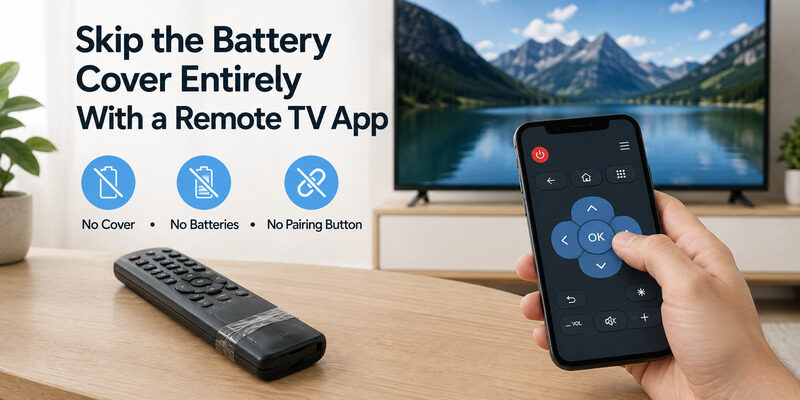
If you’re opening your Sony TV remote because it’s failing, a phone app removes the need for a physical remote altogether. The Remote TV App turns a phone into a full Sony remote over Wi-Fi, covering power, volume, navigation, and app launching.
There’s no cover to open, no batteries to change, and no pairing button to find. to control your Sony TV from your phone.
It’s the ultimate shortcut past how to open Sony TV remote covers, batteries, and pairing all at once.
FAQs About Opening a Sony TV Remote
How do I open a Sony TV remote?
Slide or gently pry off the battery cover on the back, applying light pressure near the bottom edge or at the notch. Most covers slide off or pop open without tools.
How do I open a Sony Bravia remote from 2023 or 2024?
Locate the cover seam on the back and slide or lift gently. The 2023 and 2024 designs keep the compartment accessible without tools; if it resists, press more firmly along the bottom edge.
What’s inside a Sony TV remote?
The battery compartment holds two AAA batteries and, on enhanced models, a small pairing button used to connect the remote to the TV. Opening the remote gives access to both.
How do I pair a Sony remote after opening it?
With the TV on, hold the pairing button inside the compartment for about five seconds until a pairing message appears, then follow the on-screen prompts. Fresh batteries help pairing succeed.
What if the remote still doesn’t work?
Test an infrared remote with a phone camera — no faint light means it has failed. Use a phone app like the Remote TV App to control the TV while you arrange a replacement.
Final Thoughts
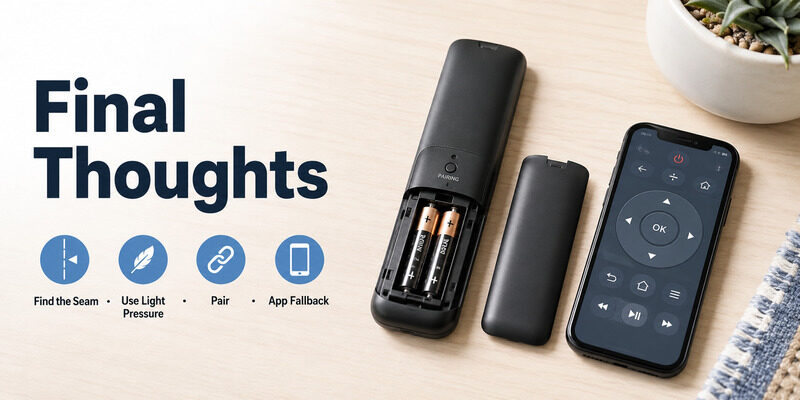
Opening a Sony TV remote is simple once you find the cover seam — slide or pop it off with light pressure, and avoid forcing it. The method is nearly the same across the 2022, 2023, and 2024 Bravia remotes, giving access to both the batteries and the pairing button.
From there, pairing takes about a minute with the button inside. And if the remote turns out to be faulty, the Remote TV App replaces it entirely from your phone, so a stuck cover or dead remote never leaves you without control.
Download TV Remote App